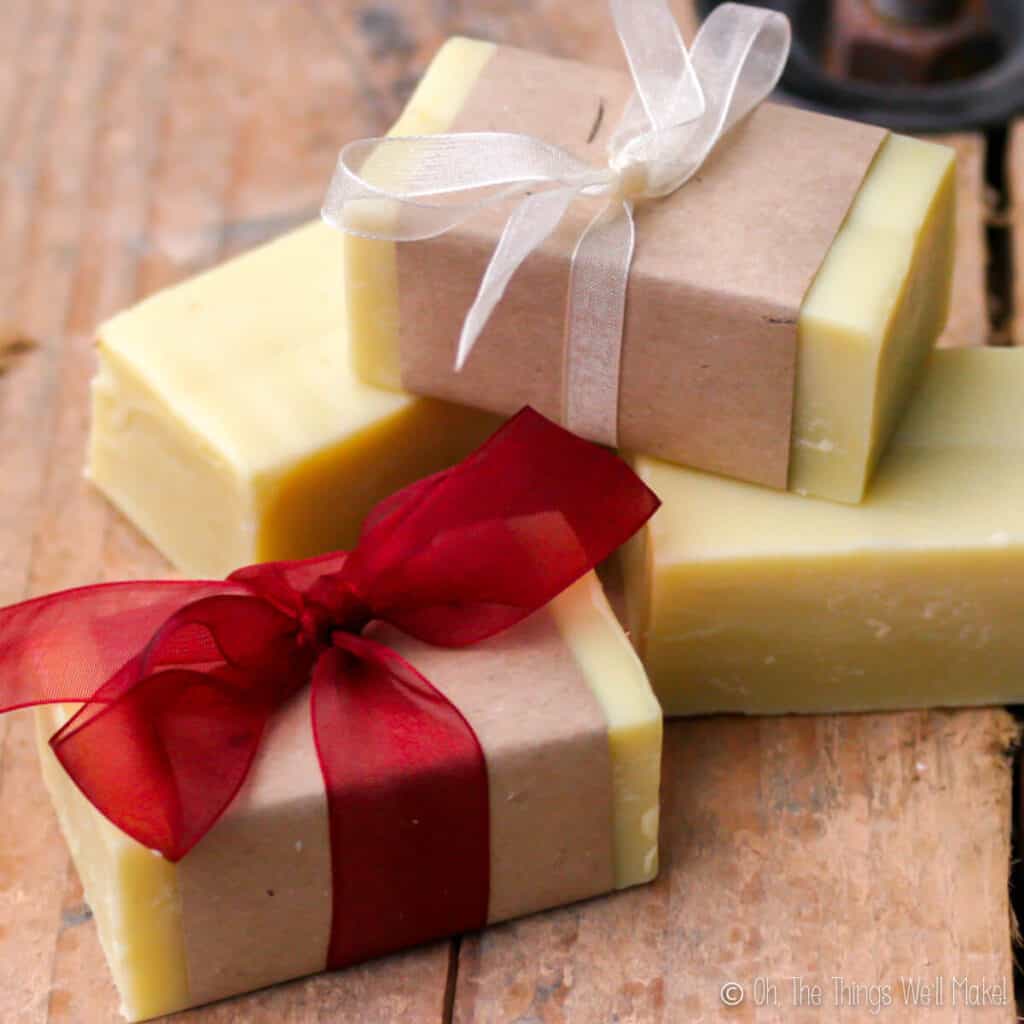
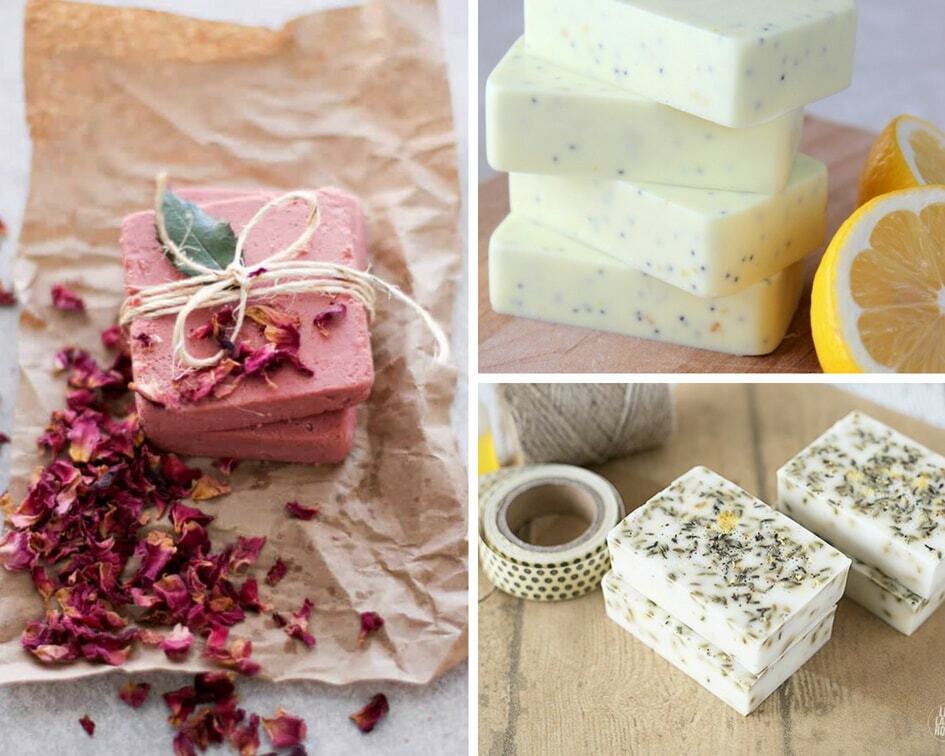
DIY soap takes center stage, inviting you to explore a world of natural ingredients and personalized cleansing experiences. Crafting your own soap is not just about creating beautiful bars; it’s about understanding the science behind soap making, experimenting with different recipes, and ultimately, enjoying the satisfaction of creating something unique and beneficial for your skin.
This guide will walk you through the basics of soap making, from understanding the essential ingredients and choosing the right recipe to mastering the techniques involved in mixing, pouring, and curing your soap. You’ll discover the art of embellishing your soap with colors, fragrances, and other creative additions, along with techniques for crafting visually appealing soap bars. Whether you’re a seasoned soap maker or a curious beginner, this comprehensive resource will equip you with the knowledge and inspiration to embark on your own soap making journey.
Choosing the Right Recipe

Crafting the perfect soap requires selecting the right recipe. This involves considering your desired properties, the intended use of the soap, and the ingredients you have access to.
Types of Soap Recipes
Different soap recipes are tailored for specific purposes and offer unique properties. Here are some popular types of soap recipes:
- Cold Process Soap: This method involves mixing lye and oils at room temperature. It’s a beginner-friendly option that allows for customization and the inclusion of natural ingredients like herbs and essential oils. However, it requires a curing period of 4-6 weeks before the soap is ready for use.
- Hot Process Soap: This method involves heating the lye and oils together, accelerating the saponification process and reducing the curing time to a few days. It’s ideal for those who want a faster turnaround time but may require more experience.
- Melt and Pour Soap: This method uses pre-made soap bases that are melted and poured into molds. It’s the easiest option for beginners as it eliminates the need to work with lye and offers a wide range of pre-made soap bases with various colors, scents, and additives. However, it offers less customization and may contain additives that some individuals may prefer to avoid.
Basic Soap Recipe for Beginners
A simple cold process soap recipe is ideal for beginners. Here’s a basic recipe using olive oil and coconut oil:
Ingredients:
- 20% Coconut Oil: Provides lather and hardness.
- 80% Olive Oil: Offers moisturizing properties and a creamy lather.
- Lye (Sodium Hydroxide): Used to saponify the oils.
- Water: Used to dissolve the lye.
Instructions:
- Calculate the lye and water amounts using a soap calculator.
- Safely dissolve the lye in water in a heat-resistant container.
- Heat the oils to a comfortable temperature.
- Slowly pour the lye solution into the oils, stirring continuously until the mixture reaches a trace.
- Pour the mixture into a mold and cover it with a towel.
- Allow the soap to cure for 4-6 weeks before use.
Remember to always wear safety gear when handling lye and follow the instructions carefully.
The Art of Soap Design
Beyond the cleansing properties, soapmaking offers a creative outlet for expressing your artistic vision. From simple bars to intricate designs, the possibilities are endless. You can transform your soap into a work of art by incorporating various techniques, adding visual interest, and making your creations unique.
Layering Techniques
Layering involves creating distinct layers of different colors or scents in a single soap bar. This technique allows you to achieve a visually appealing and multi-sensory experience.
- Pouring Layers: Each layer is poured separately, allowing the previous layer to harden before adding the next. This method provides more control over the design, but it requires careful timing and planning. For example, you can create a bar with a white base layer, followed by a blue layer, and then a red layer on top, resulting in a beautiful tri-color soap.
- Swirling Layers: This technique involves swirling different colored soap batters together to create a marbled effect. This method requires more practice but offers a more organic and free-flowing design. Swirling techniques can be achieved by using a toothpick, a skewer, or even a paintbrush to create intricate patterns within the soap batter.
Swirling Techniques
Swirling involves mixing different colored soap batters to create unique patterns and designs. This technique is popular for achieving a marbled or abstract look.
- Simple Swirls: These are achieved by mixing two or three colors together in a simple swirl pattern. You can create a basic swirl by pouring two colors side by side and then swirling them together with a toothpick or a skewer.
- Advanced Swirls: These involve more complex mixing and swirling techniques, such as creating a “galaxy swirl” or a “cloud swirl.” Advanced swirling techniques often require more practice and patience but can result in truly stunning designs.
Inclusions
Inclusions are any additives that you incorporate into your soap, such as botanicals, essential oils, or other natural ingredients. These additions can enhance the visual appeal and the overall experience of your soap.
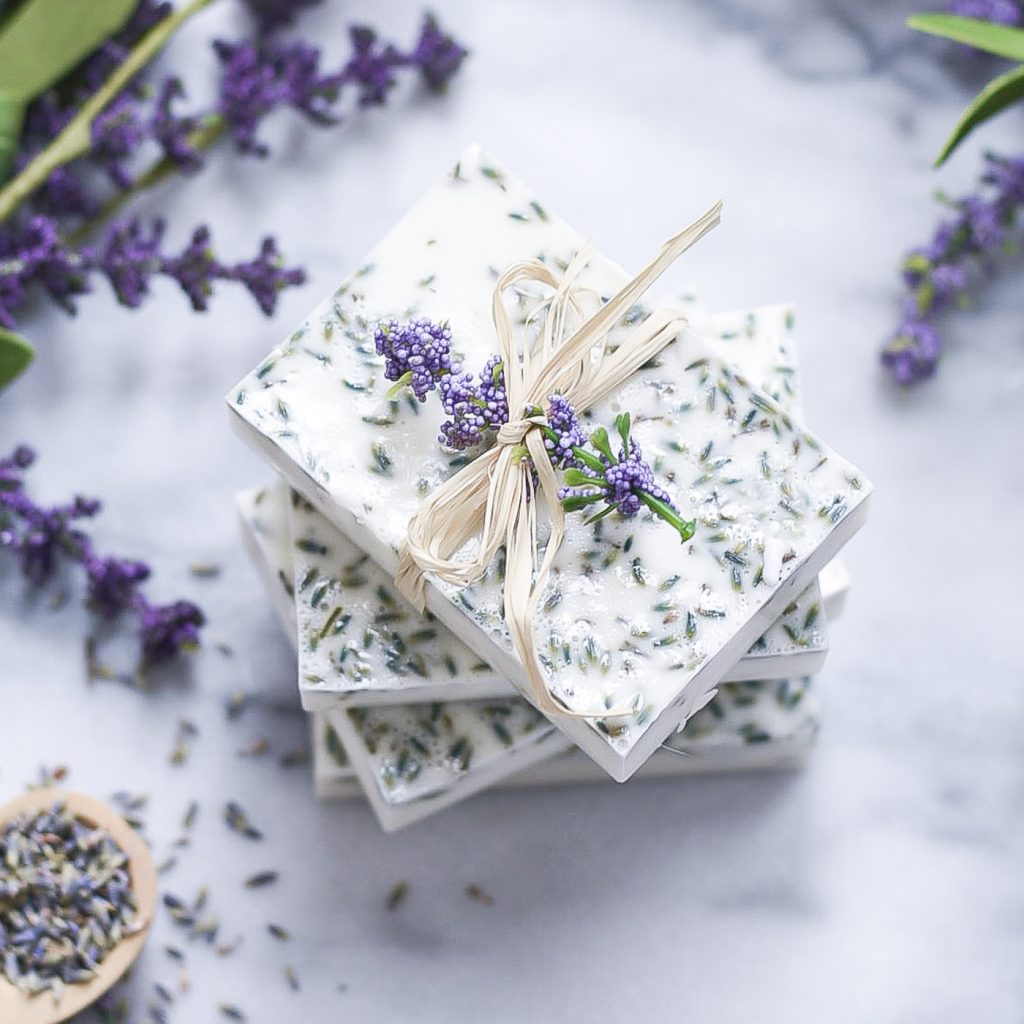
- Botanicals: These can include dried flowers, herbs, or spices. Botanicals add color, texture, and fragrance to your soap. For example, you can add lavender flowers to your soap for a calming scent and a visually appealing effect.
- Essential Oils: These can be used to add fragrance and therapeutic properties to your soap. Essential oils can also create a unique visual effect, especially when they are incorporated into a swirl design.
- Other Natural Ingredients: You can also add other natural ingredients, such as ground coffee, oats, or clay. These inclusions can provide exfoliating properties, add color, or create a unique texture.
Safe Handling and Storage

Proper handling and storage are crucial for ensuring your homemade soap remains in top condition and lasts as long as possible. Neglecting these aspects can lead to soap spoiling, becoming unusable, or even posing health risks.
Preventing Soap Spoilage
To prevent your soap from spoiling, it is essential to follow a few simple guidelines.
- Proper Curing: After making soap, it’s crucial to allow it to cure for 4-6 weeks. Curing allows the soap to harden, reducing the risk of mold growth. During this time, store the soap in a well-ventilated area, allowing air circulation to help with the drying process.
- Keep It Dry: Moisture is the enemy of soap. Store your soap in a dry place, preferably with low humidity. Avoid storing it in bathrooms, as these areas tend to have high humidity levels. A soap dish with good drainage is ideal for storing bars in use.
- Avoid Direct Sunlight: Prolonged exposure to sunlight can cause soap to fade and lose its fragrance. Store your soap in a cool, dark place, such as a drawer or a cabinet. If you are displaying your soap, ensure it is in a location that receives minimal sunlight.
- Store in a Well-Ventilated Area: Proper air circulation helps prevent mold and bacteria growth. Ensure the storage area is well-ventilated, allowing air to circulate freely around the soap.
Identifying Signs of Spoiled Soap, Diy soap
Although homemade soap is generally safe, it can sometimes spoil, especially if not handled or stored correctly. Identifying the signs of spoiled soap is crucial for preventing potential skin irritations or infections.
- Mold Growth: Mold is a common sign of spoiled soap. It appears as fuzzy, greenish, or black patches on the surface. Discard any soap that exhibits mold growth.
- Changes in Texture: Spoiled soap may become sticky, soft, or mushy. It may also develop a grainy or crumbly texture. These changes indicate the soap has absorbed moisture or has not cured properly.
- Unpleasant Odor: Spoiled soap may develop a musty, sour, or rancid odor. This is a clear indication that the soap has gone bad and should be discarded.
- Discoloration: If the soap’s color significantly changes, particularly if it turns darker or develops an uneven color, it may be a sign of spoilage. Discard any soap that shows significant discoloration.
Storing Soap for Long-Term Preservation
To ensure your soap remains in good condition for an extended period, consider these storage tips:
- Use Airtight Containers: Storing soap in airtight containers helps protect it from moisture, dust, and air contaminants. Choose containers made of materials that won’t react with the soap, such as glass or stainless steel.
- Store in a Cool, Dry Place: A cool, dry environment is ideal for long-term storage. A basement or a closet is a good option. Avoid storing soap in areas with high humidity or temperature fluctuations.
- Consider Vacuum Sealing: For even greater protection, consider vacuum sealing your soap in individual bags or containers. This removes air and moisture, creating a barrier against spoilage.
Last Word: Diy Soap

With a little knowledge, patience, and creativity, you can transform simple ingredients into luxurious, personalized soap bars. DIY soap making is a rewarding experience that allows you to control the ingredients, customize the scent, and create a product that aligns with your individual needs and preferences. So, gather your supplies, embrace the process, and let your creativity flourish as you embark on the exciting journey of crafting your own soap masterpieces.
Creating your own soap is a rewarding and creative process, allowing you to customize scents and ingredients to suit your preferences. If you’re looking for a similar DIY project that brings the outdoors in, you might enjoy building diy raised garden beds.
These structures provide a controlled environment for growing your own herbs and vegetables, which can be used to make your own homemade soap, completing the circle of sustainable living.


