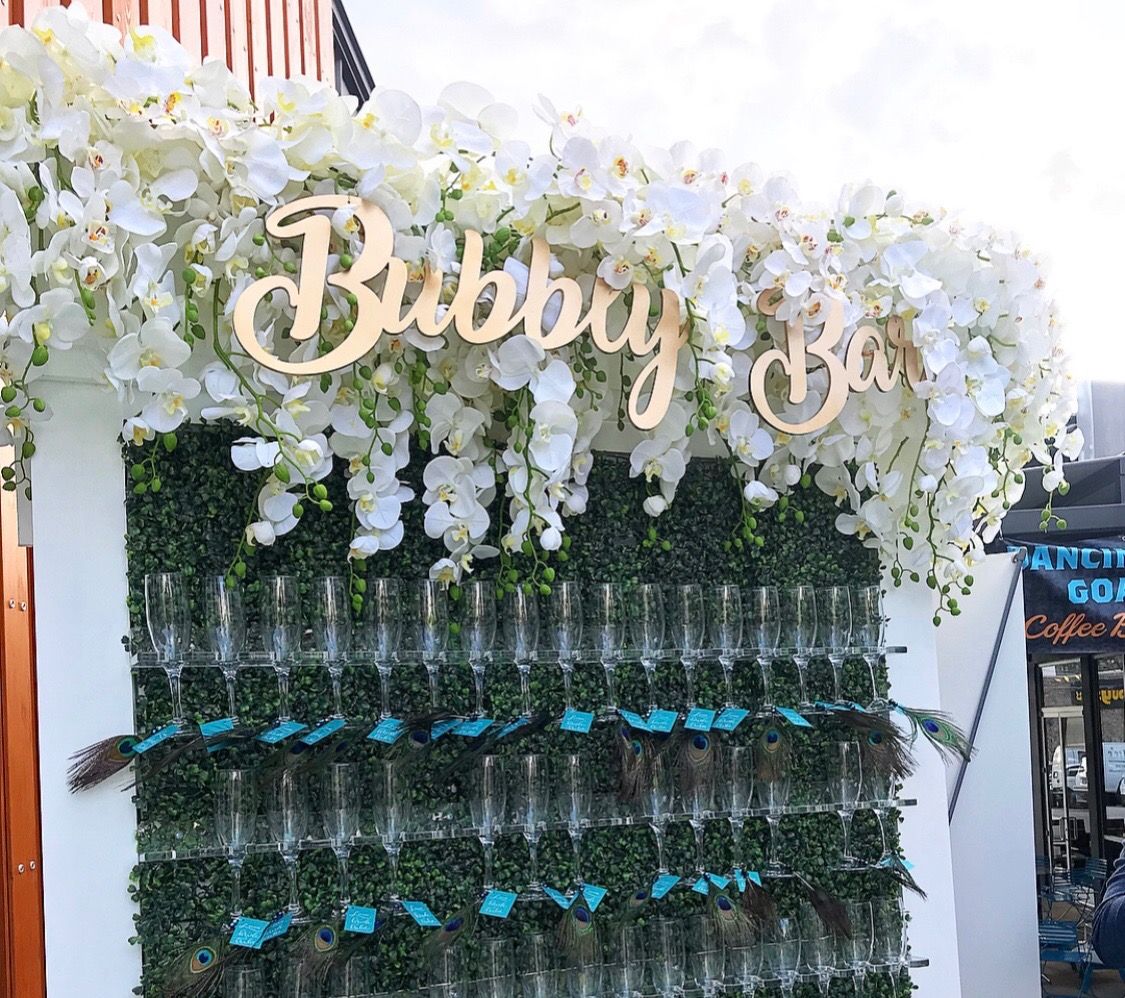
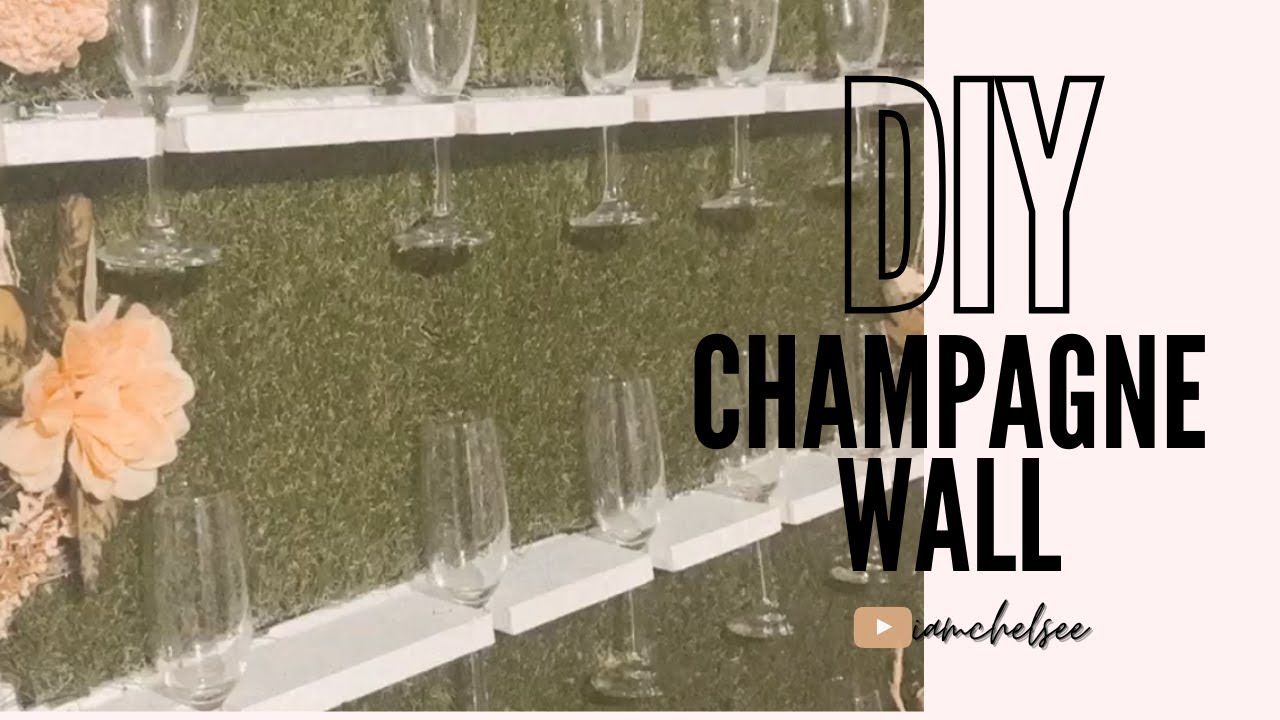
DIY Champagne Wall: Imagine a wall that not only adds a touch of elegance to your space but also serves as a stylish display for your favorite bubbly. This project, while seeming daunting, is actually a fun and rewarding DIY endeavor that can be tailored to your specific style and needs.
From planning the size and design to choosing the right materials and champagne holders, creating a DIY champagne wall is a journey that allows you to unleash your creativity and personalize your home decor. Whether you envision a freestanding masterpiece or a wall-mounted marvel, the possibilities are endless, and the result will be a conversation starter that will impress your guests.
Troubleshooting and Maintenance

Creating a champagne wall is a fun and rewarding DIY project, but like any construction endeavor, it’s not without its potential challenges. This section will cover common issues you might encounter during the building process and offer solutions for troubleshooting them. Additionally, we’ll discuss essential maintenance tips to ensure your champagne wall remains a stunning centerpiece for years to come.
Common Construction Issues and Solutions
- Uneven Wall Surface: A non-level surface can make it difficult to secure the champagne wall frame and lead to uneven bottle placement.
- Insufficient Support: Using inadequate support for the wall, especially when dealing with a large number of bottles, can result in instability and potential collapse.
- Improper Bottle Spacing: Incorrect spacing between bottles can create an aesthetically unappealing wall, with bottles potentially falling out or becoming damaged.
- Difficulty in Accessing Bottles: A poorly designed wall may make it difficult to reach and remove bottles, leading to frustration and potential damage.
Solutions:
- Leveling the Wall: Use a level to ensure the wall surface is even before attaching the frame. If necessary, adjust the frame or use shims to achieve a level surface.
- Adequate Support: Choose a sturdy frame material that can support the weight of the bottles. Consider using additional supports, such as brackets or braces, for larger walls.
- Consistent Bottle Spacing: Use a template or measuring tool to ensure consistent spacing between bottles. This will create a visually pleasing wall and prevent bottles from falling out.
- Accessibility: Design the wall with easy access to the bottles. Consider using a hinged section or removable panels to allow for easy bottle retrieval.
Maintenance Tips for Longevity
- Regular Cleaning: Wipe down the wall regularly with a damp cloth to remove dust and fingerprints. Avoid using harsh chemicals or abrasive cleaners that could damage the wall or bottles.
- Inspect for Loose Bottles: Periodically check for loose bottles and tighten any screws or connections that may have become loose.
- Avoid Overloading: Do not overload the wall with too many bottles. This can strain the frame and lead to instability.
- Proper Storage: Store the wall in a cool, dry place when not in use. This will help to prevent damage from moisture or extreme temperatures.
Important: It’s crucial to remember that a champagne wall is primarily a decorative element and should not be used for storing valuable or fragile bottles. The weight of the bottles and the potential for movement could damage the bottles.
Conclusion

Creating a DIY champagne wall is a fantastic way to elevate any event or occasion. It’s a visually stunning centerpiece that adds a touch of elegance and sophistication to any gathering.
This guide has provided you with the necessary information and steps to successfully build your own champagne wall. You’ve learned about different materials, design options, and installation techniques. You’ve also been equipped with troubleshooting tips and maintenance strategies to ensure your champagne wall remains beautiful and functional for years to come.
Benefits of a DIY Champagne Wall
A DIY champagne wall offers numerous advantages:
- Cost-Effective: Building a champagne wall yourself is significantly more affordable than hiring a professional or purchasing a pre-made one.
- Customization: You have complete control over the design, size, and materials used, allowing you to create a unique and personalized piece that reflects your style and the theme of your event.
- Versatility: A champagne wall can be used for various events, from weddings and birthdays to corporate gatherings and holiday parties.
- Impressiveness: A well-constructed champagne wall is a conversation starter and adds a touch of grandeur to any occasion.
Summary: Diy Champagne Wall

A DIY champagne wall is more than just a decorative element; it’s a testament to your creativity and a celebration of good times. With careful planning, a little bit of ingenuity, and a dash of personal style, you can create a stunning centerpiece that will elevate your space and make every gathering sparkle. So, pop the cork, gather your tools, and let’s get started on building a champagne wall that will be the envy of all your friends.
A DIY champagne wall is a stunning centerpiece for any party. You can find countless design ideas online, often in PDF format, but sometimes they’re locked. Thankfully, there are tools like a PDF unlocker that can help you access those designs and bring your champagne wall vision to life.
Once you have the instructions, you can gather the materials and start building your own dazzling display.


